Learn to call contra dances with me!

Category: Weekly Reflections

In our course, we are assigned a weekly reflection on an aspect of technology that we are learning about in class this week.

How Can We Meaningfully Incorporate Recording Programs Across the Grades

A child with wireless headphones on speaking into a professional-looking microphone. The child's face has intentional blurring for privacy.
Photo by Murry Lee

Introduction

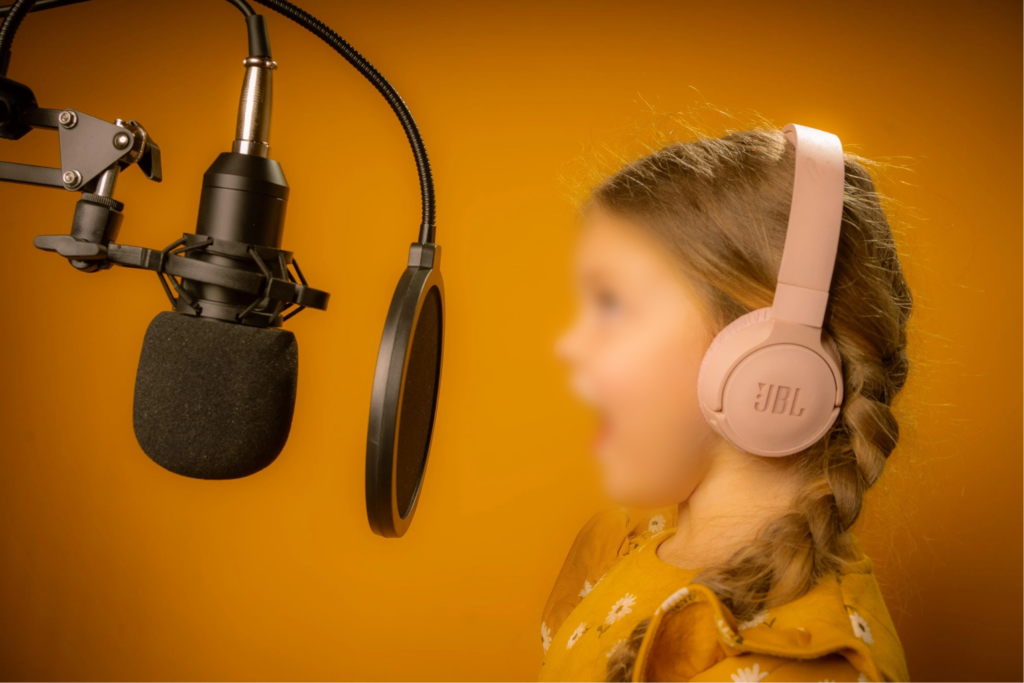
Inquiry-based learning is a powerful tool for helping students develop critical thinking skills and become more engaged in their learning. One way to incorporate this approach into the classroom is through the use of audio recording technology. Audio recording technology provides a way for students to capture their thoughts, ideas, and reflections in a way that is both personal and meaningful. Whether it’s using programs like Audacity and Garageband or using personal devices, this post, we will explore how teachers can meaningfully incorporate audio recording technology across grade levels from early elementary through middle school. We will also examine the pros and cons of using audio recording technology in schools, things to be mindful of as educators, and provide some ideas for different activities/applications in the classroom. But first, what is Audacity and Garageband?

Audacity Tutorial

Audacity is a free, open-source audio editing software that is available for Windows, Mac, and Linux. It is a powerful tool that can be used to record and edit audio, including podcasts, interviews, and music. Here is a quick tutorial on how to use Audacity:

To download, visit https://www.audacityteam.org/

Garage Band Tutorial

Garage Band is a popular digital audio workstation software that is available on Mac and iOS devices. It can be used to create and edit music, podcasts, and sound effects. Here is a quick tutorial on how to use Garage Band:

Pros/Cons and Things To Keep in Mind

An informational table with two columns labelled Pros and Cons. The spaces below are blank.
Photo by: Putukas01

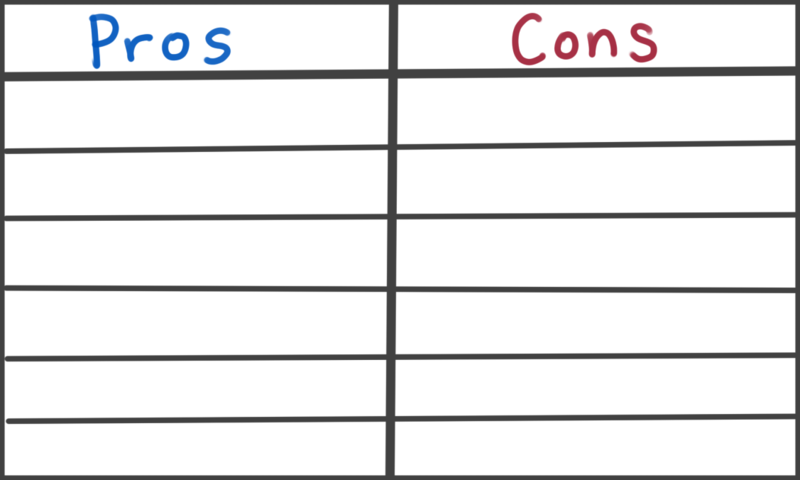
While audio recording technology has many benefits, it also has some drawbacks. Here are some pros and cons to consider when incorporating audio recording technology into the classroom:

Pros:

  • Encourages self-reflection and critical thinking
  • Enhances student engagement and motivation
  • Allows for personalized learning and self-expression
  • Provides opportunities for collaboration and peer feedback
  • Develops communication and presentation skills

Cons:

  • Requires access to technology and may be expensive
  • May be distracting or disruptive in the classroom
  • May require additional training for students and teachers
  • May present privacy and security concerns
  • May not be accessible for all students with disabilities

Educators should keep the following things in mind when incorporating audio recording technology in the classroom:

  1. Accessibility: Ensure that the technology is accessible for all students, including those with disabilities. Consider providing additional support for students who need it.
  2. Safety and Privacy: Be mindful of safety and privacy concerns when recording and sharing audio recordings. Set clear guidelines for students and obtain consent from parents or guardians if necessary.
  3. Training: Provide adequate training and support for both students and teachers in using the technology effectively and responsibly.
  4. Assessment: Consider how audio recordings will be assessed and evaluated. Develop clear criteria for assessment and provide feedback to students on their work.
  5. Integration: Integrate audio recording technology into the curriculum in a meaningful way. Consider how it can support and enhance learning outcomes in different subject areas.
  6. Time Management: Plan ahead and allow sufficient time for students to create and edit their recordings. Consider how much time will be needed for training, recording, editing, and sharing.
  7. Technical Support: Ensure that there is adequate technical support available in case of technical difficulties or issues that may arise during recording or editing.

Classroom Applications

You’ve weighed the pros and cons and have decided you want to use audio recording in your classroom. But, what can you actually do with it when you have a grade 2 class? What about a grade 8 class? Lots! We have sorted some example activities into Early Elementary(K-2), Upper Elementary(3-5), and Middle School(6-8) and are providing 5 examples for each below. This list of just some of the cool things you can do with audio recording across the grades:

Early Elementary (K-2)

  1. Vocabulary Building: Students can create an audio book report by recording themselves summarizing a book they have read and discussing the vocabulary words they learned.
  2. Cultural Exploration: Students can create an audio map by recording themselves describing the different parts of a map and the places that can be found there.
  3. Literature Study: Students can create an audio storybook by recording themselves reading a story they have written and adding illustrations or animations to accompany the audio.
  4. Music and Movement: Students can create an audio dance party by recording themselves introducing different songs and leading their classmates in dance and movement activities.
  5. Poetry Reading: Students can create an audio poetry slam by recording themselves reciting their own poems or poems they have learned and adding sound effects to enhance the performance.

Upper Elementary (3-5)

  1. Science Experiments: Students can create a podcast series where they conduct and report on their own scientific experiments, discussing their hypotheses, methods, and results.
  2. Creative Writing: Students can create an audio drama by recording themselves acting out different parts of a story and using sound effects and music to create atmosphere and tension.
  3. Public Speaking: Students can create a mock news show by recording themselves delivering news stories and features about different topics, such as sports, entertainment, or local events.
  4. Language Learning: Students can create an audio language lesson by recording themselves teaching basic phrases and vocabulary in a foreign language.
  5. Collaborative Storytelling: Students can create an audio chain story by recording themselves telling a story one sentence at a time and passing the recording to the next student to continue the story.

Middle School (6-8)

  1. Speech and Debate: Students can create a podcast series where they analyze and discuss different persuasive speeches and debates from history and current events.
  2. Virtual Field Trips: Students can create an audio documentary by recording interviews with experts and people from different cultures and locations, and using sound effects and music to create an immersive audio experience.
  3. History and Social Studies: Students can create an audio timeline by recording themselves discussing the key events and people of a particular historical period and adding sound effects and music to create an engaging audio narrative.
  4. Current Events: Students can create an audio editorial by recording themselves discussing and analyzing different news stories and events and offering their own opinions and insights.
  5. Creative Writing: Students can create an audio poetry collection by recording themselves reciting their own poems or poems they have discovered and adding sound effects and music to enhance the mood and tone of the poems.

Week 7 Reflection – Jesse Miller

I really appreciated that we had the chance to talk to Jesse Miller about our roles as teachers supporting students in their relationships with technology. Although I did not agree with all of Jesse’s conclusions, I appreciated how much experience he had in the field and how candidly he spoke about these issues. Here are my three favorite things he talked about.

Teacher – Student Interactions Online

In his talk, he shared a story about a teacher who accidentally saw one of their students on an online dating site. As someone who does not use online dating sites and who teaches young children, I had never considered that this could happen. After this conversation, I started to think more about places where my students might see my online presence. I am fairly conservative about my online presence, except when it comes to the contra dancing community, so I don’t think I have much to worry about.

Students and Social Media

I am very concerned about having good conversations with students about social media. Jesse Miller advocated heavily for talking to students about social media, but he was not very specific in the ways that teachers should start this conversation. Since his presentation, I wanted to get a better sense of how teachers broach this topic, so I found a few good resources online. This article highlights a framework for parents talking to children about social media that I think would be helpful for teachers.

Infographic by: Sophia Choukas-Bradley

Digital Tech Addiction

In his Ted Talk, Jesse Miller spoke some about how parents use tech to placate young children. However, he did not talk very much about the implications that this parenting strategy can have on kids in the long run.

After this presentation, I went on to listen to a podcast by MindShift on tech addiction that helped me fill in some of the gaps on the long term impacts of tech as a strategy to help kids regulate their feelings.

I am very grateful that Jesse Miller came into our classroom and started these conversations between our classmates because I think that they will make us better teachers in the end.

Week 5 Reflection – Sketch Notes and Infographics

This week, we learned about leveraging visuals for teaching and note-taking. We started by thinking about how to encourage people to retain more information from lectures.

I love the idea of sketchnoting as a way to retain information because it is something that I experienced a lot in my elementary education. You see, I went to a Waldorf school, where students are asked to create their own manipulatives and reference texts. So sketchnoting came naturally to me, and it was clear the ways that sketchnoting could be helpful for students.

An image of my sketchnote about the From the Mic episode with Chrissy Fowler

Here is a sketchnote that I created in class based on an episode of From the Mic, a podcast about contra dance calling. In this episode, Mary Westley interviews Chrissy Fowler, a fantastic New England contra caller who called many of the first dances I attended.

Then, we moved on to creating infographics. I found that infographics were a fun and innovative way to share a lot of information quickly.

My infographic about contra dance roles

Week 4 Reflection Post- Tech for Accessibility

The class on accessible tech was by far my favorite class so far. I particularly liked it because tech for accessibility in education is something that is really important to me.

My background is in outdoor education. Both of my parents work at Foothill Horizons Outdoor School and I have worked as an outdoor educator at two different summer camps.

In outdoor education, technology for accessibility looks very different from conventional schools. However, I see it as equally important in both environments. Teachers often use accessibility as an excuse to avoid bringing students outside, and I believe it is important that we uplift accessible technologies for the outdoors. In this post, I am going to dig into some of my favorite accessible technologies that help all people enjoy the outdoors.

Paddling Accessibility Tech

For paddling activities, my favorite accessibility tech is boat launch systems that help paddlers without use of their lower bodies enter the boats.

A man enters a kayak using the Nor Col EZ dock boat entry system
The Nor Col EZ Dock from the Nor Col website

Hiking Accessibility Tech

Another area or accessible tech that I love is tech to make hiking accessible to everyone. This includes all terrain wheelchairs for people who would like to travel on somewhat bumpy paths on their own power and all terrain joggers for folks who want to experience really remote places on tough paths with the help of others.

Image of a person with long hair and glasses sitting in a larger three-wheeled  push chair.
A large push chair from Advance Mobility Freedom

These are just two of many options for accessible technology that we can use to help people enjoy going outside. These are some of the more pricey options, but fortunately there are options for teachers who want to rent these for their students. Power to Be is a great resource for people in Victoria who are interested in technologies to help people go outside.

Week 3 Reflection – Screencasting

This week, we learned to do screencasting using Screencastify, a program that allows you to record your shared screen as well as your narration for your website tour. I chose to use Screencastify to create a virtual tour of three websites that I am using in my contra dance calling journey. Here is the video I created.

Resources for Contra Dance Callers by Maya Roe

Screencastify is a fun tool, but I don’t really think that I would use it with my students. The place I could really imagine using this tool is with parents. Sometimes parents need a little help navigating websites or processes, such as applying for a background check or registering for the parent-teacher meetings. I think that creating a simple Screencastify video would be a great way to make those processes easier.

My name is Maya Roe. I am a beginning contra dance caller based in the traditional territory of the lək̓ʷəŋən-speaking and W̱SÁNEĆ people on Southern Vancouver Island.

I am creating this blog as a virtual home for my journey toward becoming a contra dance caller.

Welcome and Introduction

Before proceeding with this first blog post, we expect you to consider your privacy preferences carefully and that you have considered the following options:

  1. Do you want to be online vs. offline?
  2. Do you want to use your name (or part thereof) vs. a pseudonym (e.g., West Coast Teacher)?
  3. Do you want to have your blog public vs. private? (Note, you can set individual blog posts private or password protected or have an entire blog set to private)
  4. Have you considered whether you are posting within or outside of Canada? This blog on opened.ca is hosted within Canada. That said, any public blog posts can have its content aggregated/curated onto social networks outside of Canada.

First tasks you might explore with your new blog:

  • Go into its admin panel found by adding /wp-admin at the end of your blog’s URL
  • Add new category or tags to organize your blog posts – found under “Posts” (but do not remove the pre-existing “EdTech” category or sub-categories, Free Inquiry and EdTech Inquiry). We have also pre-loaded the Teacher Education competencies as categories should you wish to use them to document your learning. If you would like to add more course categories, please do so (e.g., add EDCI 306A with no space for Music Ed, etc.)
  • See if your blog posts are appearing on the course website (you must have the course categories assigned to a post first and have provided your instructor with your blog URL)
  • Add pages
  • Embed images or set featured images and embed video in blog posts and pages (can be your own media or that found on the internet, but consider free or creative commons licensed works)
  • Under Appearance,
    • Select your preferred website theme and customize to your preferences (New title, etc.)
    • Customize menus & navigation
    • Use widgets to customize blog content and features
  • Delete this starter post (or switch it to draft status if you want to keep for reference)

Do consider creating categories for each course that you take should you wish to document your learning (or from professional learning activities outside of formal courses). Keep note, however, that you may wish to use the course topic as the category as opposed to the course number as those outside of your program would not be familiar with the number (e.g., we use “EdTech” instead of “edci336).

Lastly, as always, be aware of the FIPPA as it relates to privacy and share only those names/images that you have consent to use or are otherwise public figures. When in doubt, ask us.

Please also review the resources from our course website for getting started with blogging:

© 2024 Maya Calls

Theme by Anders NorenUp ↑